DBS311 - DBS710
Install MongoDB in Preparation for Use
Updated November 13, 2022
Table of Contents
- Setting up an Atlas Account
- Setting up VS Code
- Adding MongoDB Extension to VS Code
- Using Playground to Connect to MongoDB Atlas
Useful Links
- Working with MongoDB in VS Code
- MongoDB Atlas Homepage
- Download VS Code
- VS Code Documentation
- Mongosh for MongoDB Shell Commands
Lab Computer Access
For those whom must use the lab computers, there is an alternative for now to use the commandShell for MongoDB to access your database. Instructions for this option are coming soon. For now you look in MyApps for MongoDB you will be able to get it running with both Compass and the Command Shell.
We are currently requesting that the version of VSCode on MyApps be updated to a version compatible with the extension we are going to use, but this will take time and likely will not be ready until the winter term.
Personal/Laptop Computer Access
In this course we will study MongoDB and therefore we will need to prepare our laptops/personal computers for working with MongoDB. There will be two steps in the process:
- Create an Atlas account and create a cluster within it or simply access your if you already have one.
- Installing VS Code (if not already done) and adding one new extension.
Important Notes
If you already have an Atlas account setup from Web322, then you will simply need to login to your atlas account to obtain your connection string.
If you already have VS Code installed, at least version 1.6 or above, you can skip that step and just install the extension.
ATLAS accounts
For those students whom are taking, or have taken Web322 you will likely already have an Atlas account, if this is the case, you can skip this entire step and move to the VS Code setup step.
- Navigate to the Atlas homepage - link here
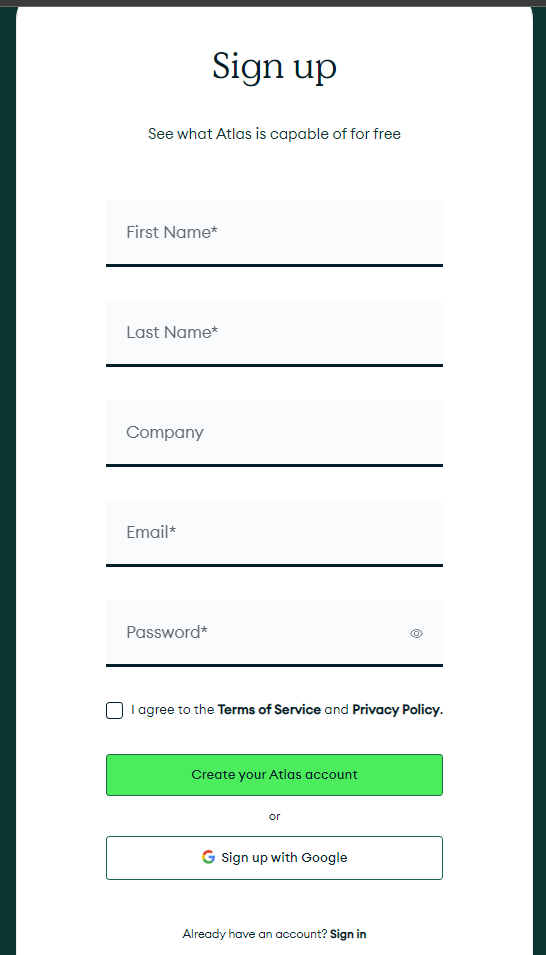
- If you do not have an atlas account, then click "Try Free", if you do have an account, then click "Sign In" and move to step 6 below
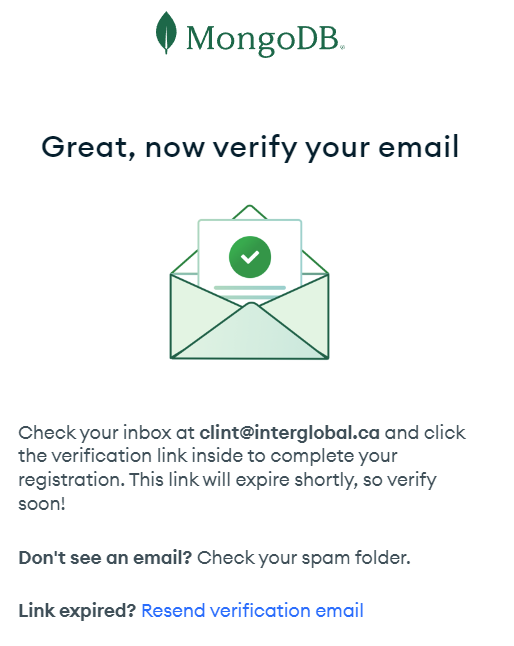
- You will need to verify your email address by clicking on a link in an email that would be sent to you.
- You will now sign in for the first time. On your first sign-in, it will ask you to create a database. This is a little misleading because it is actually asking you to create a cluster. Once you start it will ask for your deployment options, we will choose the always free options. Choose Shared and click Create
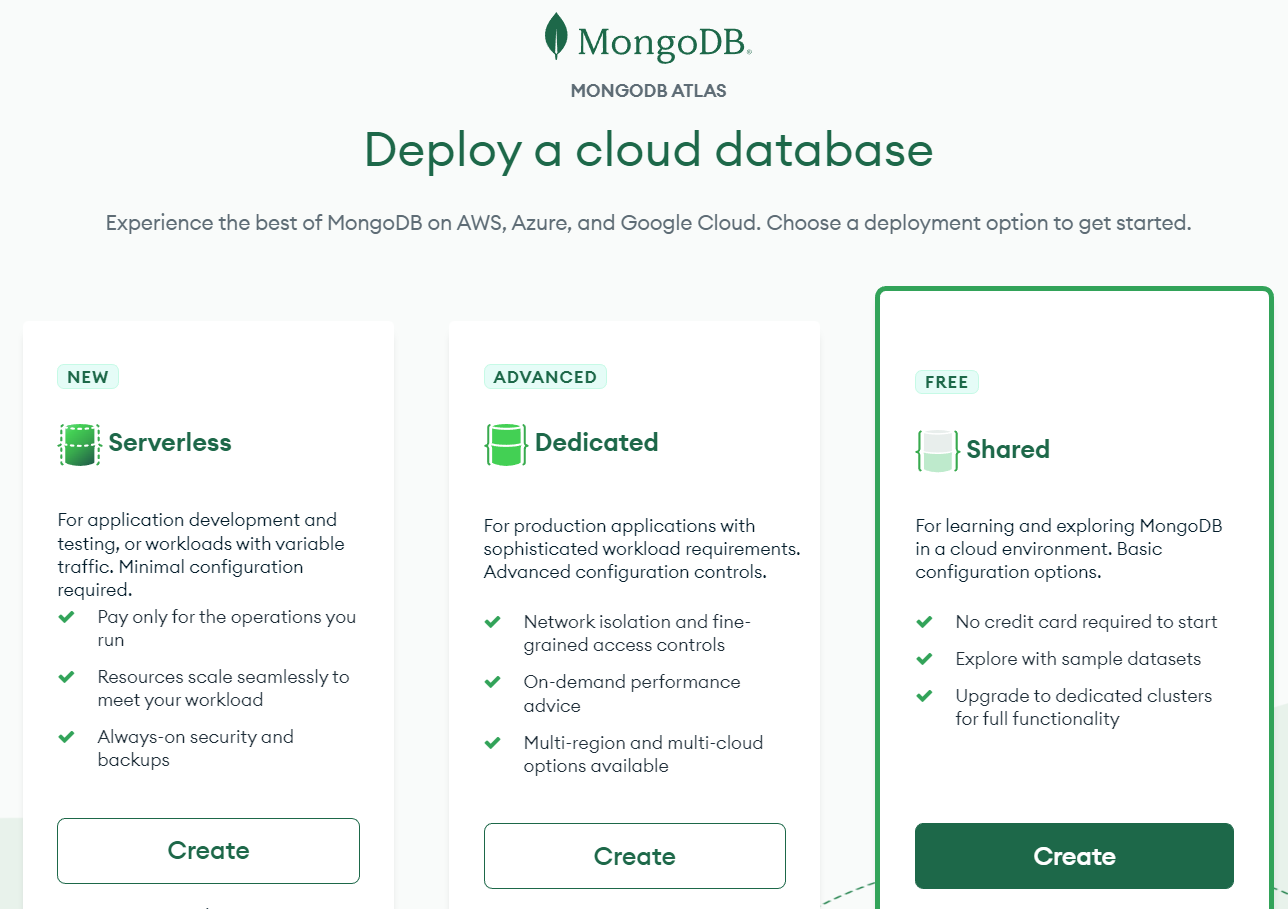
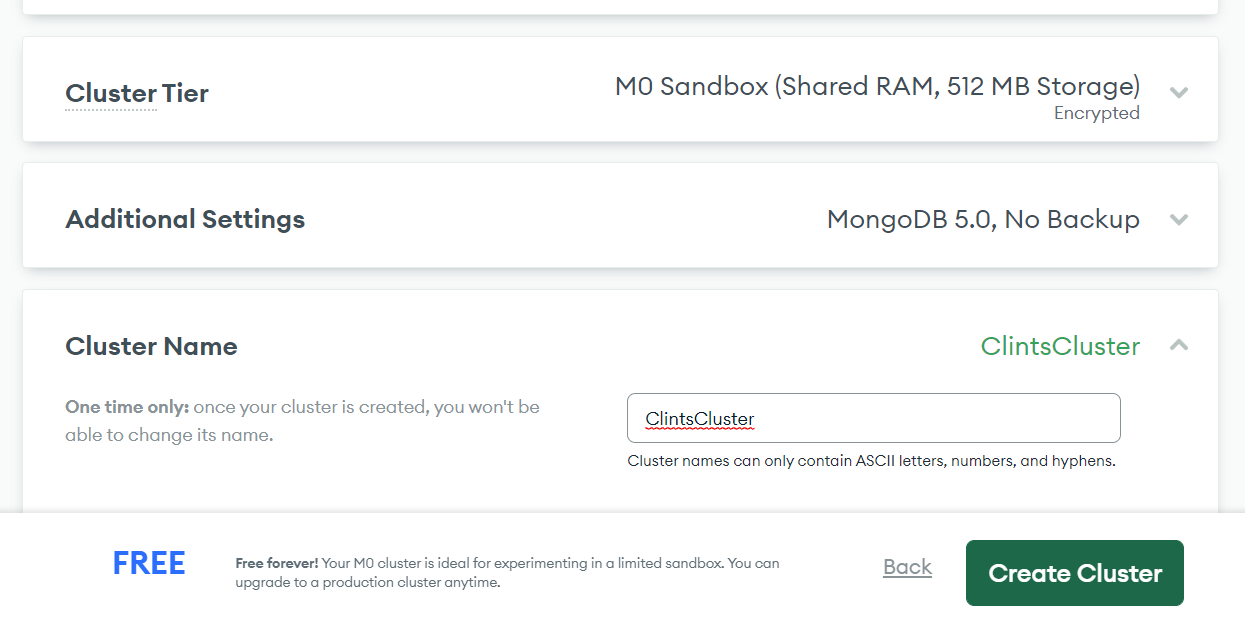
- You will then need to create a cluster, again choose Shared as it is free.

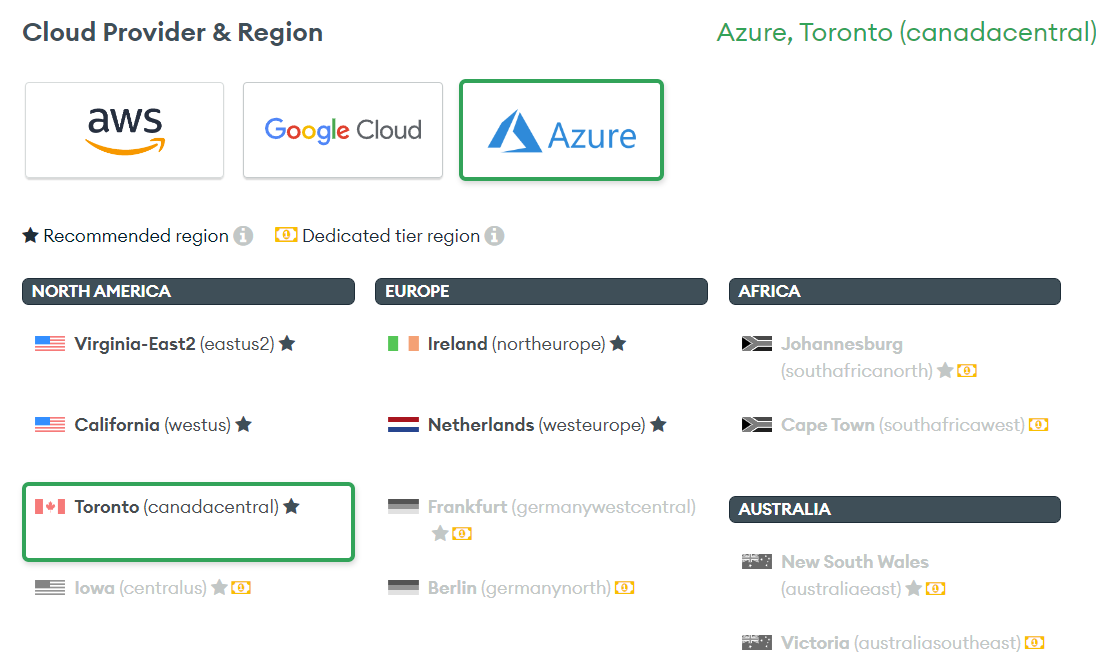
- You will then be asked to choose a cloud server. Luckily Azure has a Toronto server facility that is free of charge, so let us use that one.
At this point create a cluster name, that is personal to you. It is best if the name has no spaces or other special symbols
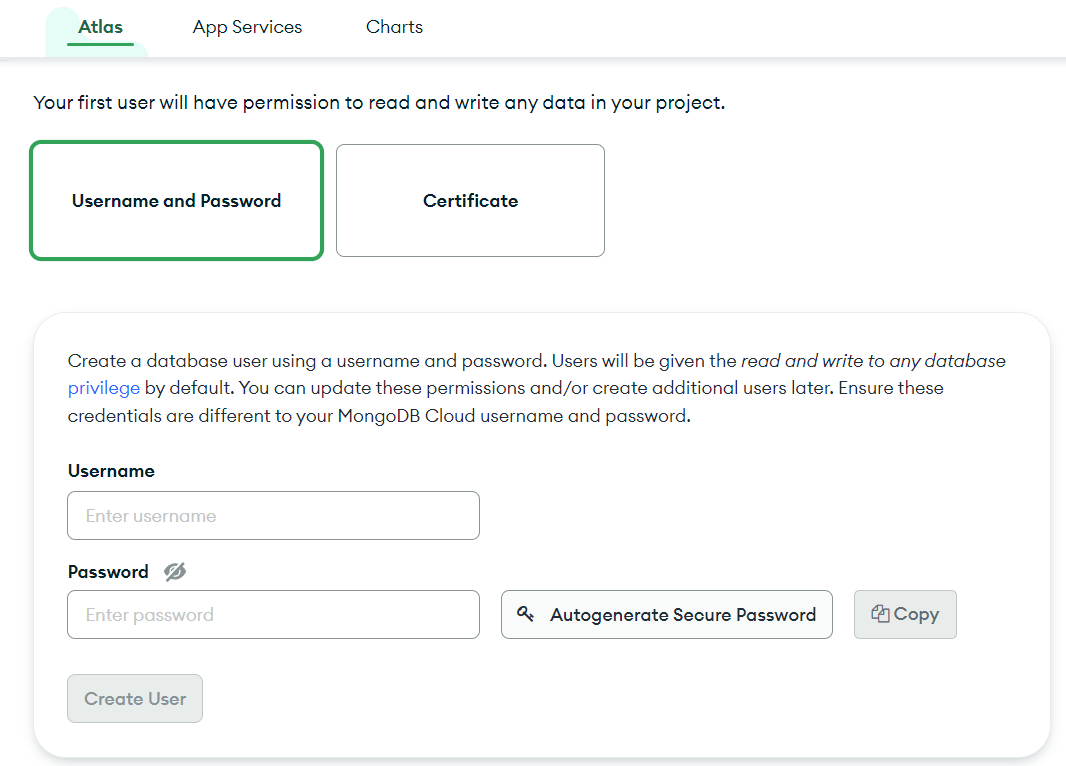
You will then have to create the first username and password for accessing the database. This should be different than your Atlas password, as this one you may have to share with your group.
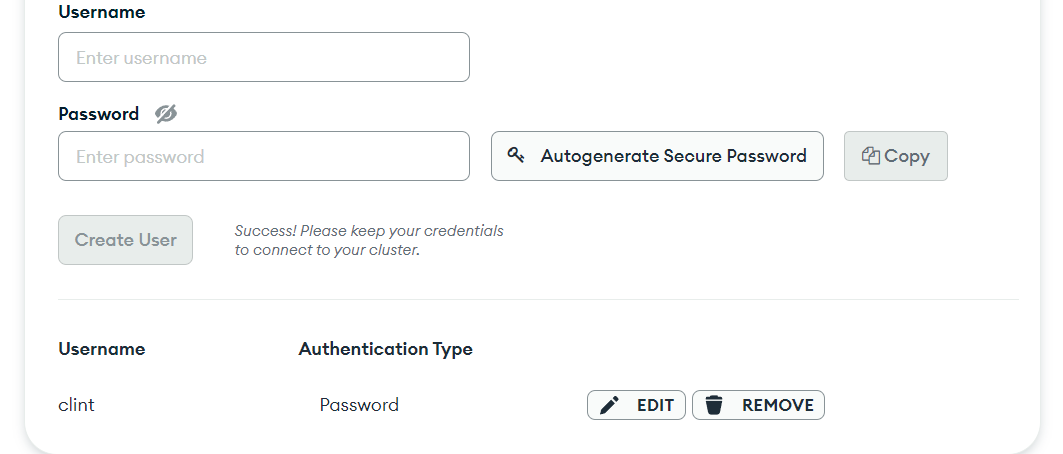
Once the user is created, it should show up just below the creation form. You may choose to add more now, but for classes, it is not necessary.
Once you are done this step, you will be returned to the same screen in which you will be at when you login from now on.
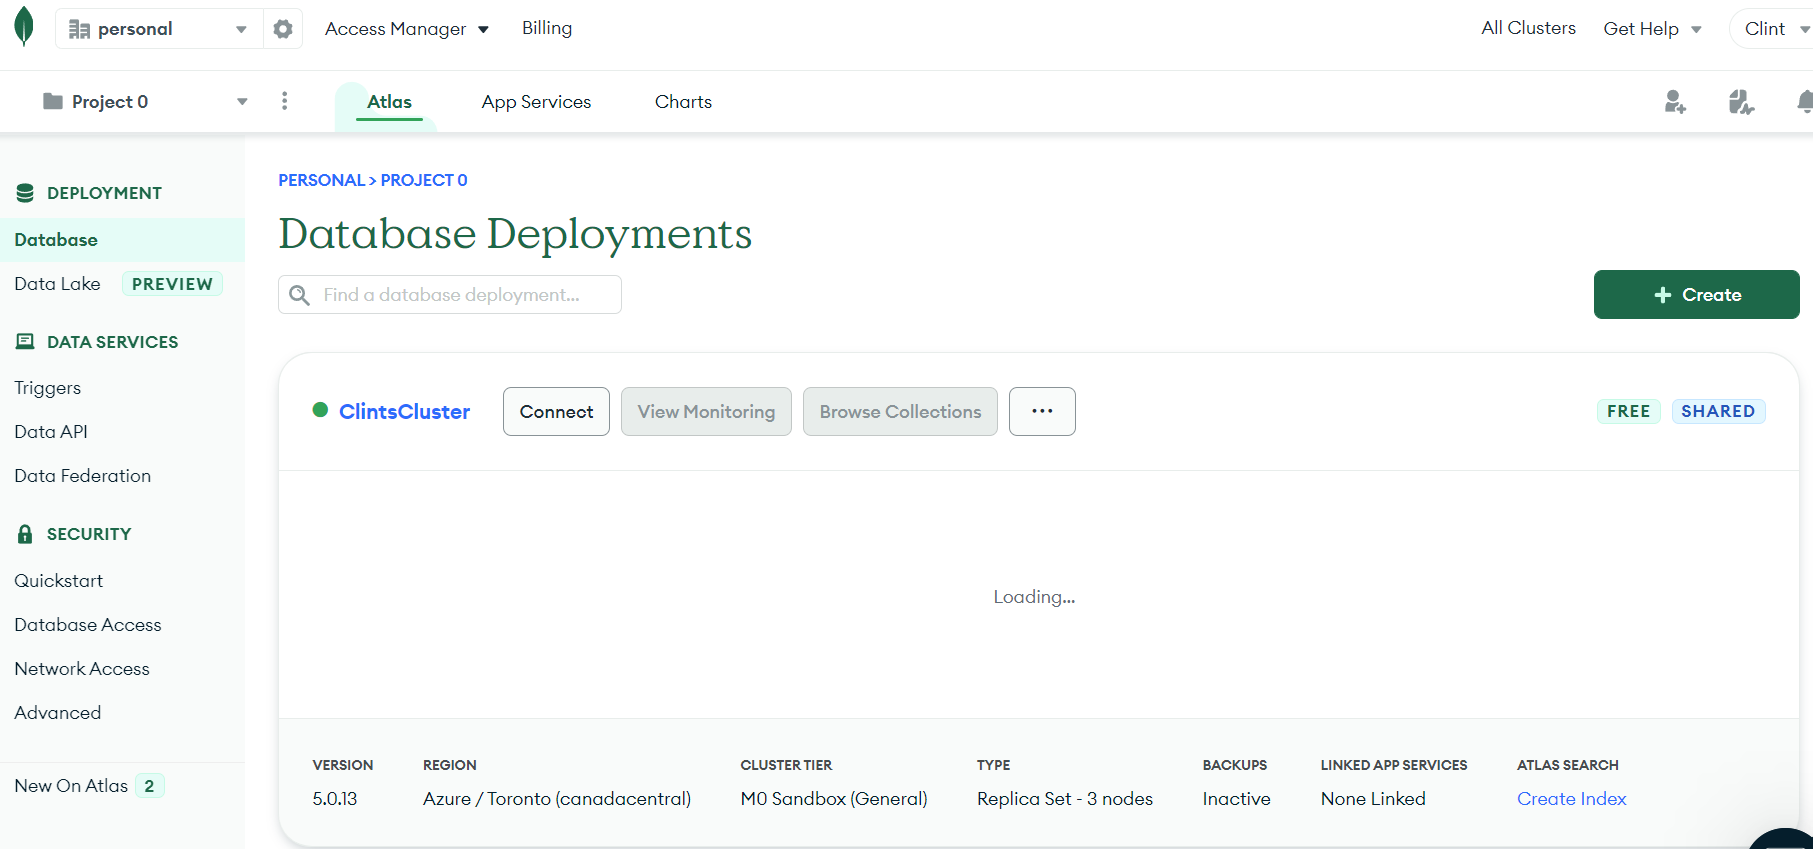
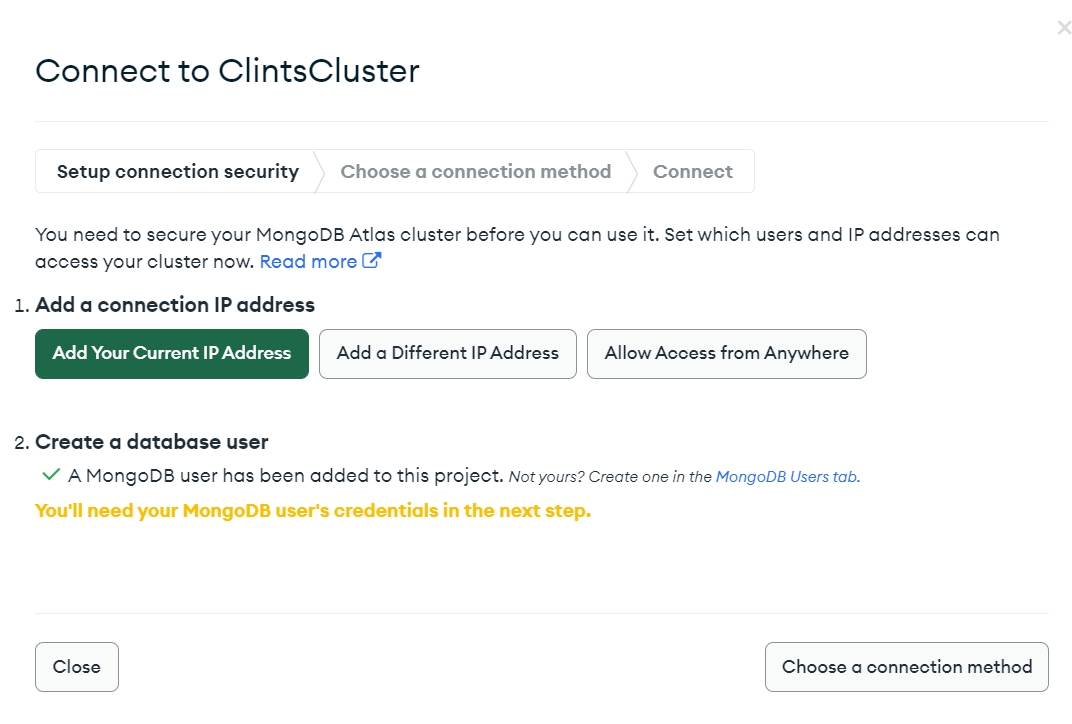
You will need to ensure that you are allowing access to the database from different computers. In the real world, this would normally be only accessed from the web or cloud servers. But for the purposes of class, and ease of setup, we will "Allow Access From Anywhere" to start. This is accomplished by clicking on the Connect button beside your cluster name, in the previous screen and then choosing the appropriate option under "Add a connection IP Address"
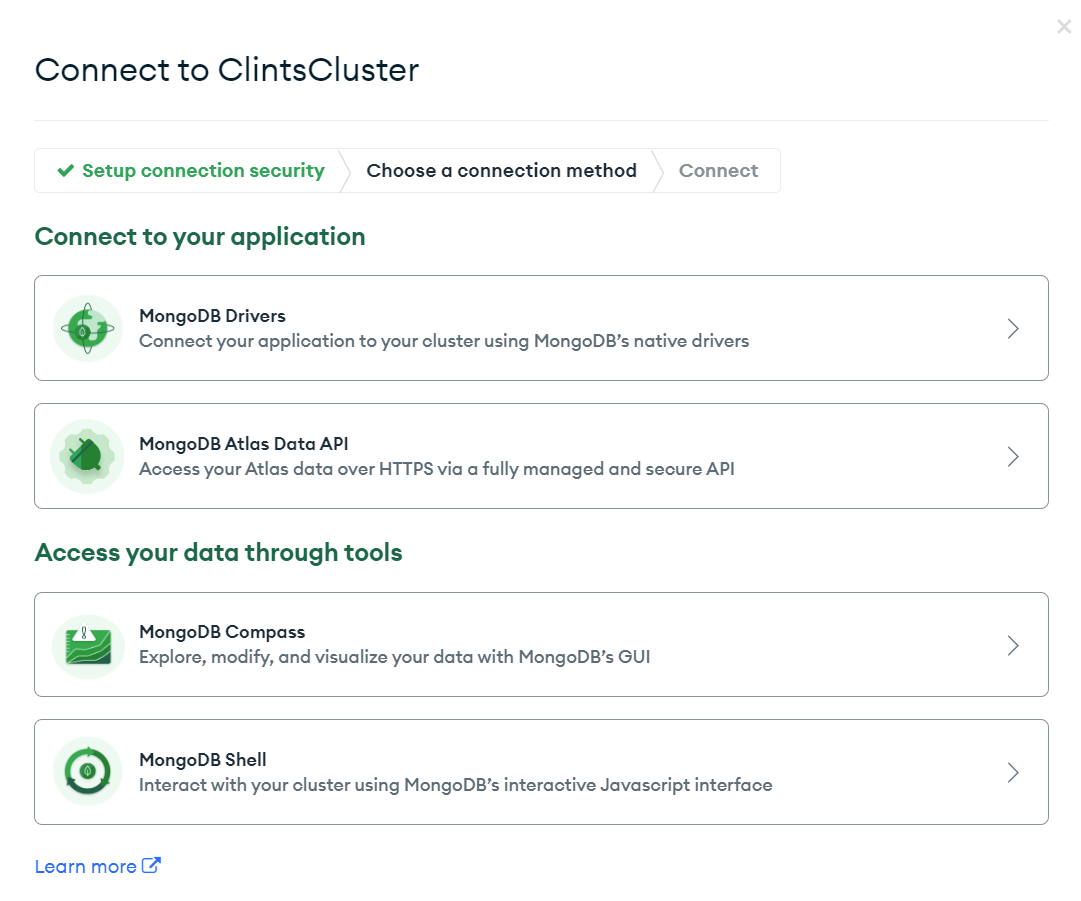
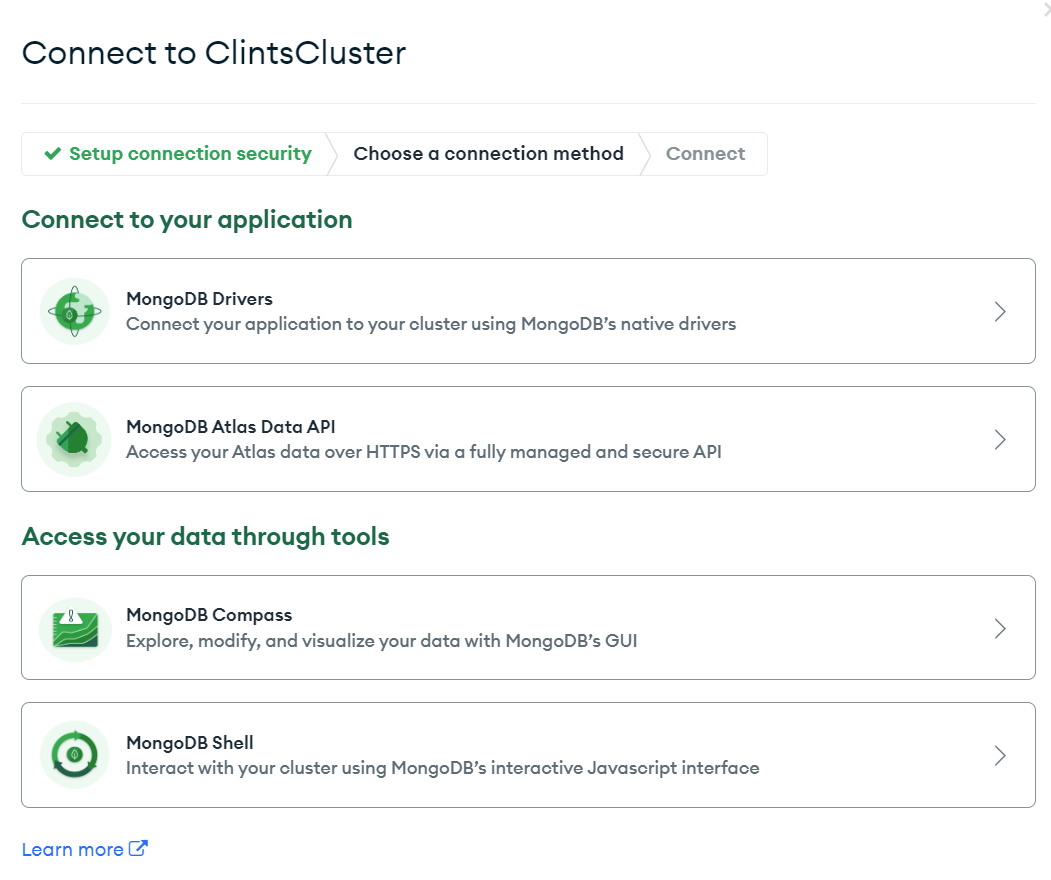
After access is granted, a screen comes up that that will look like one of 2 different screens: pending how your account is setup. If you have the choice to choose "Connect using VS Code" do so, if not choose "MongoDB Compass". Both will give you the same connection string, which is really all we want at this point.

Both option will bring up a screen that shows a connection string that looks something like below.
There are three parts to this connection string you will need to know about.- The picture shows techprof.pjz69te.mongodb.net, this is the clustername and server name together. Yours will be different, copy yours as it was provided to you.
- The second part is "<password>" - you will need to replace this with the password for the username you created for your cluster.
- The third part in the "test" at the end. This is where you will name your database. The database name is set during the connection. Depending on the UI you use later, this can be changed on the fly.
- VS Code MongoDB extension does not let you change databases without disconnecting and reconnecting. The database in the connection string is the only database you can access.
- MongoDB Shell does allow you to change databases using the "use" command.
Setting up VS Code
If you do not already have VS Code installed, it is fairly straight forward to install.
- The download page for VS Code is : Download Link
- Choose the appropriate operating system, most computers today will be x64 and if the choice is available, choose user installer.
- The download should start.
- You can simply download the software and choose all the default settings. The default settings are setup for most developers best interests and are a good place to start.
- Once VS Code is installed, you can move to adding the MongoDB Extension section.
Adding MongoDB Extension to VS Code
To interact with MongoDB on a scripting basis, we will need a user interface. The newly created VSCode Extension plugin is really well done, and was created by the MongoDB community.
To add the extension, open VS Code and:
- Click on the extensions icon on the left side:

- In the search bar at the top type in "MongoDB for VS Code"
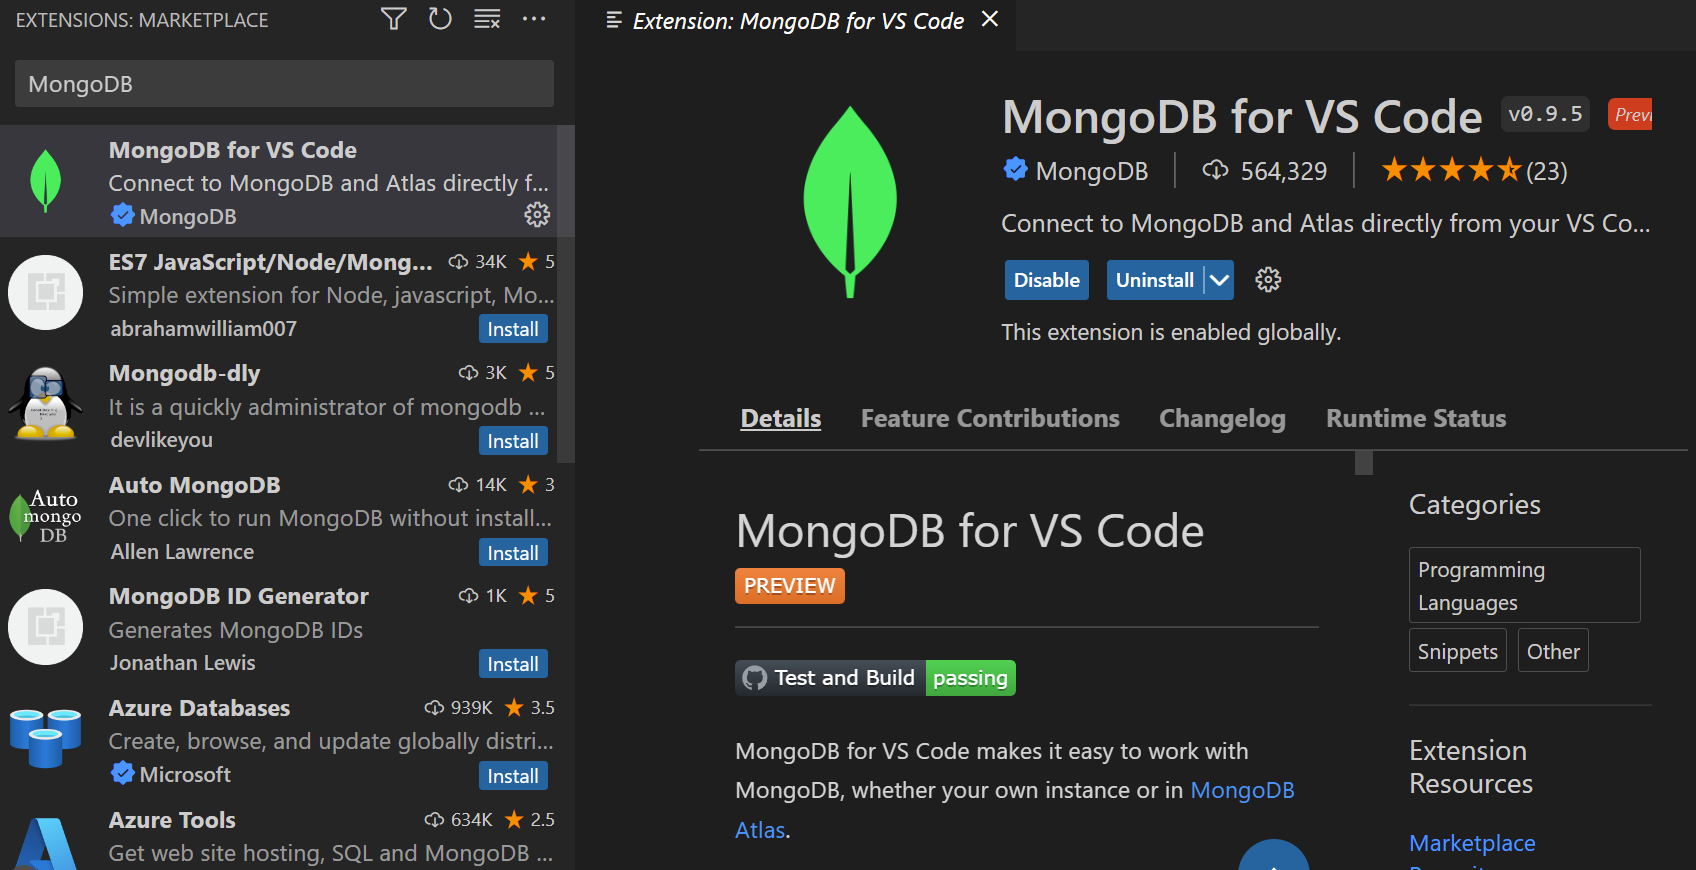
- Click "Install" on the right side. (the screenshot shows uninstall, but that is where the install button will be)
Using Playground to Connect to MongoDB Atlas
Once you have an Atlas account and VS Code installed, now you can now add a connection and user your first playground.
- The extension will have added a new icon on the left side that looks like a small leaf. Clicking on that shows you the MongoDB Connections and Playgrounds toolbar.
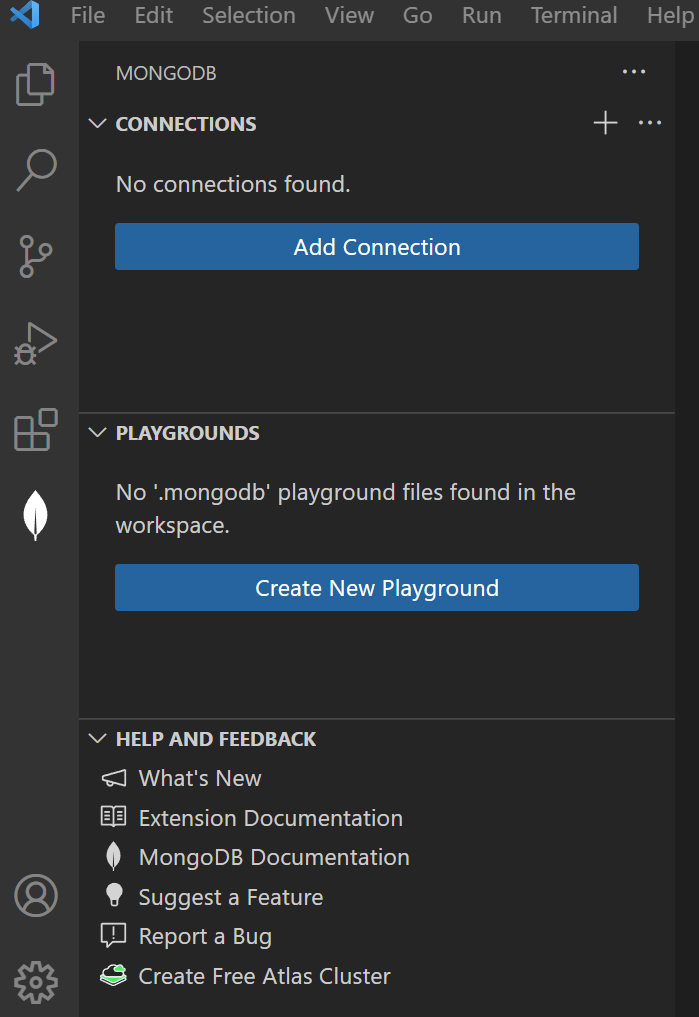
Clicking on "add a Connection" bring up the following screen, on which you will want to choose to connect with a connection string.
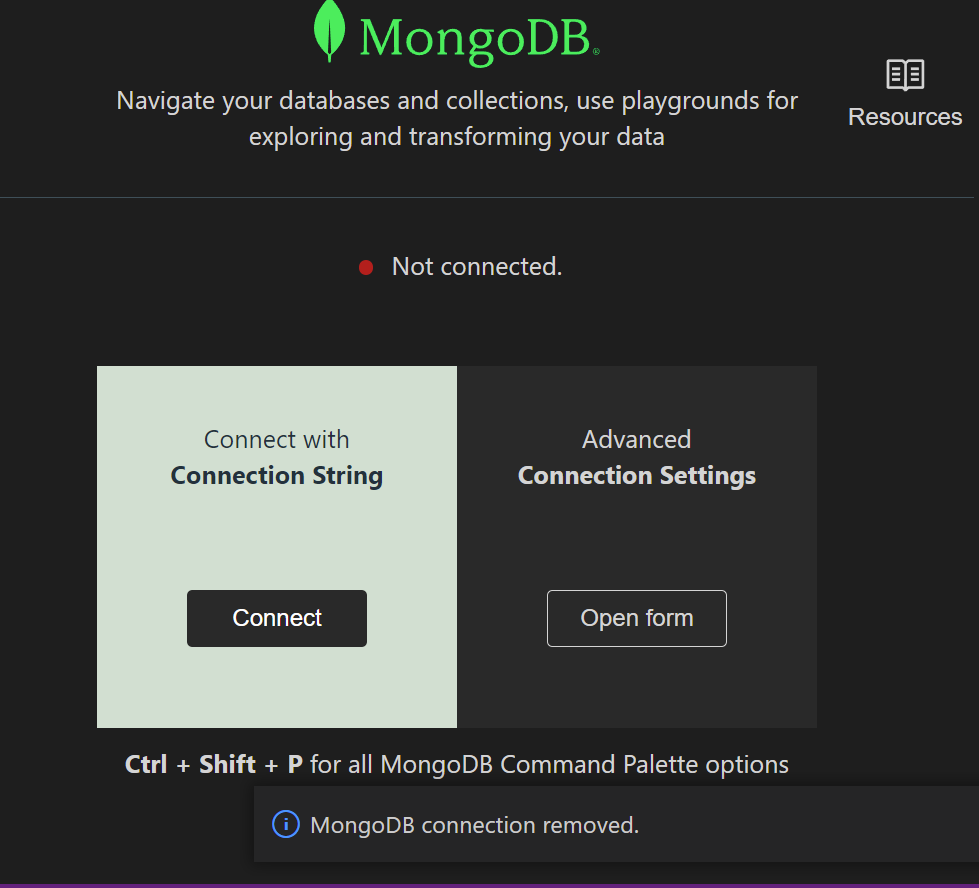
Alternatively, you can go to the view menu, then Command Pallete and type in MongoDB where one option will be to connect with a connection string.Near the top will be a textbox to enter your connection string. This is obtained from your Atlas cluster account, by clicking on the "Connect" option. See above! Paste your connection string in here.

Change the password to be your password. Be sure to remove the angle braces!

Replace the name of the database (currently test) with a name of a new or existing database. If it does not exist, it will be created when you enter your first data, otherwise it will connect to the existing one.

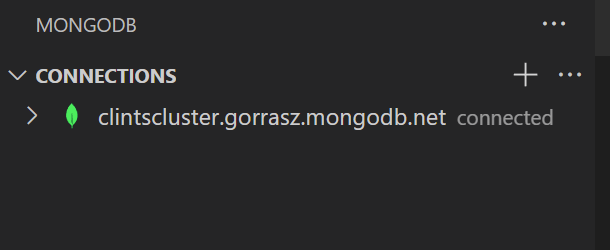
Press Enter to attempt the connection. You should see a pop-up in the bottom right stating you connected successfully.On the left side, under connections (if the leaf icon is selected) will be your new connection. The first thing you should do is to right click on that connection and choose to rename it. The default name is the server name, and different databases on the same server will all have the same name, making it hard to know which is which.
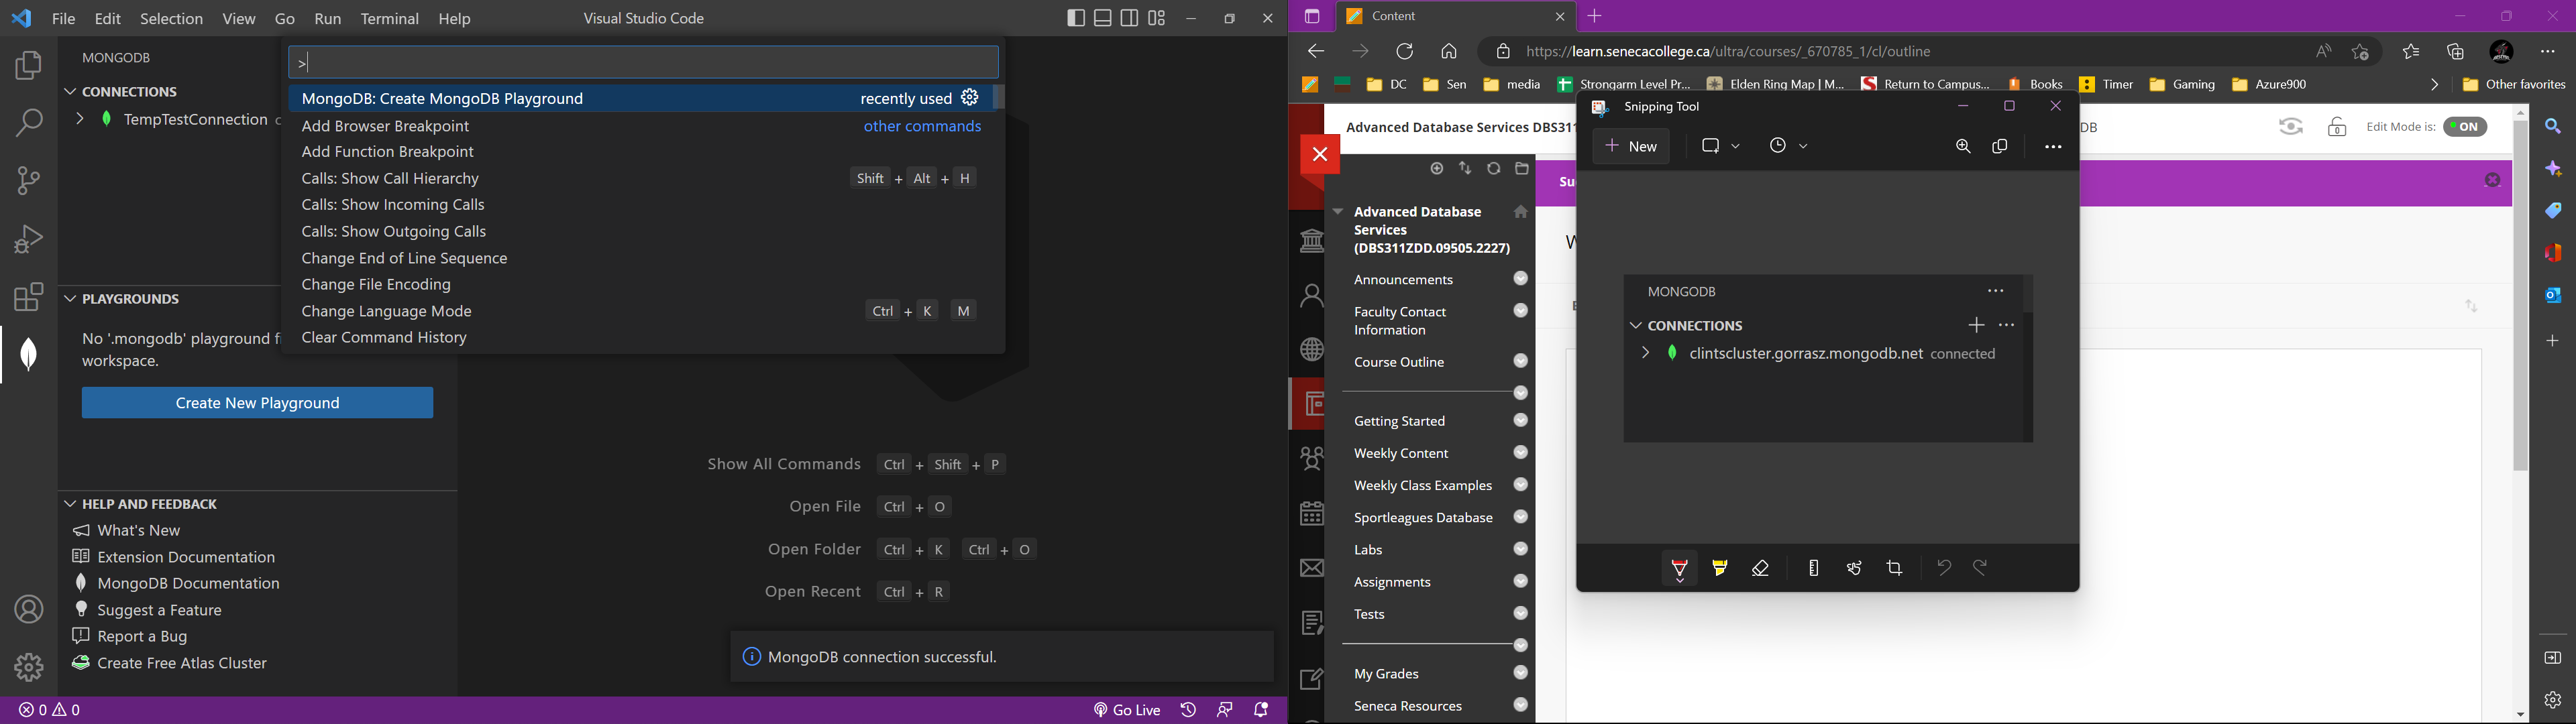
Once you are successfully connected, you will create a playground. Go to View/Command Pallets and when typing in Mongo you will see "Create MongoDB Playground".
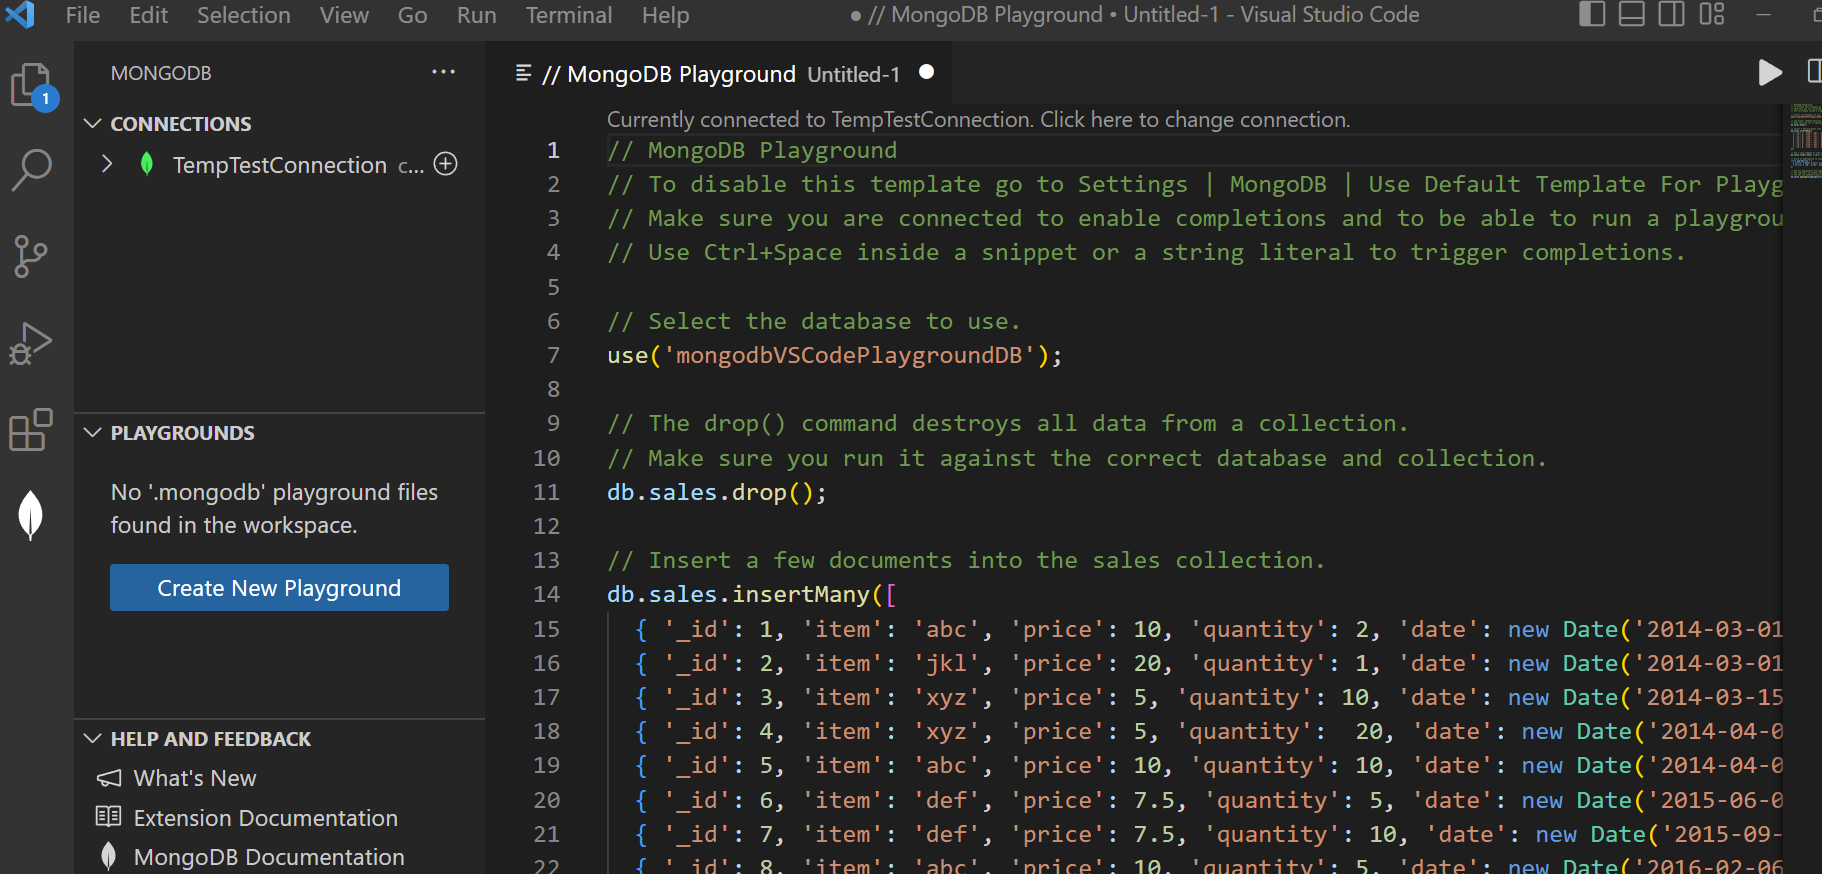
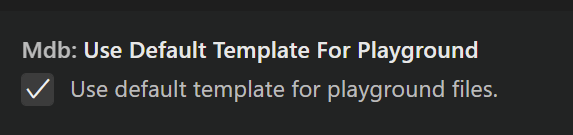
This will have brought up a new file and a default scripting template.You can review this the first time to see how it works, but then you can clear the contents. In the extension settings, you can choose not to have the template come up each time you start a new playground.
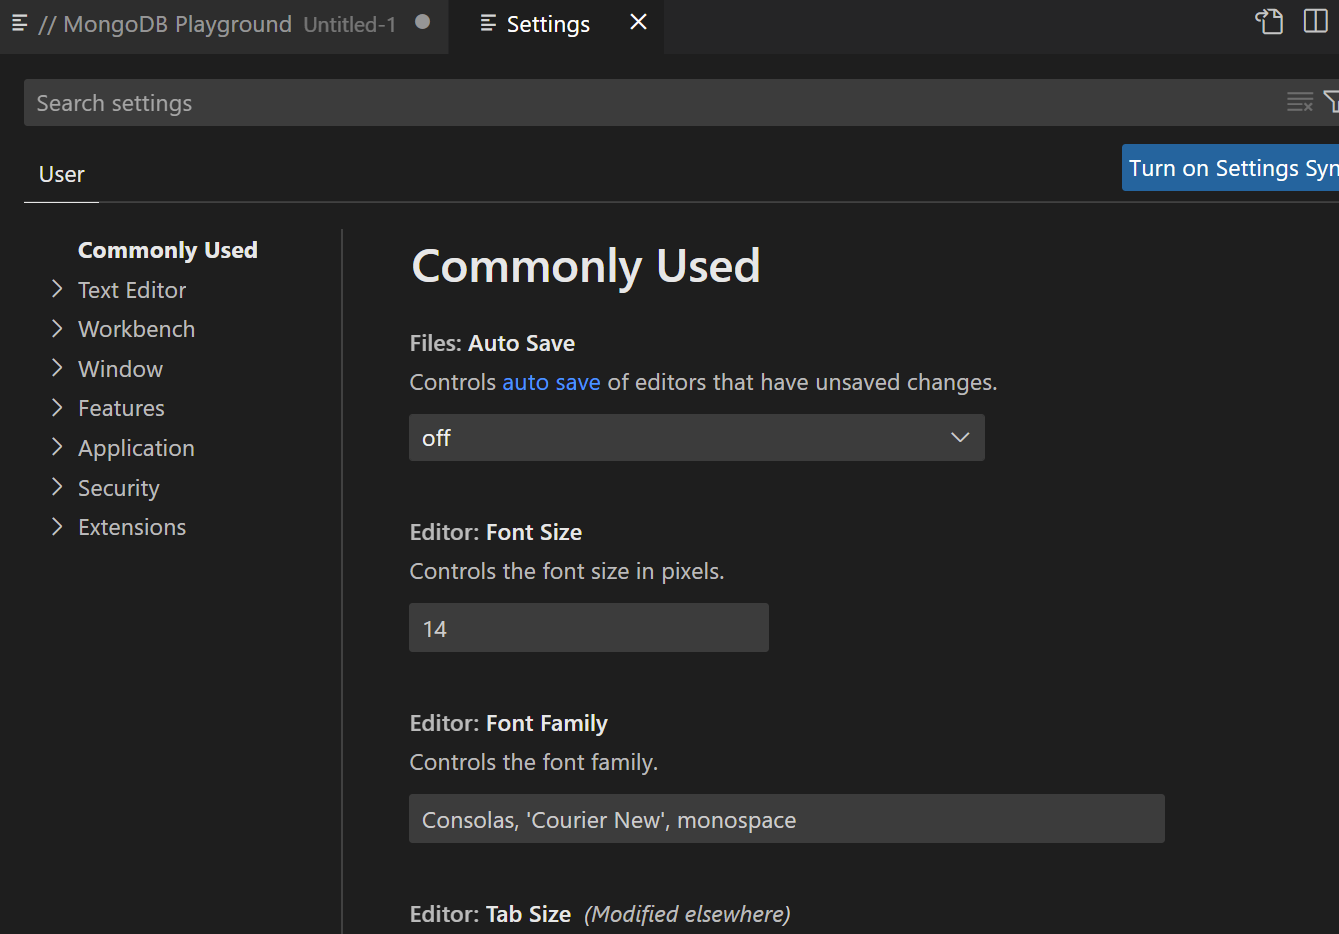
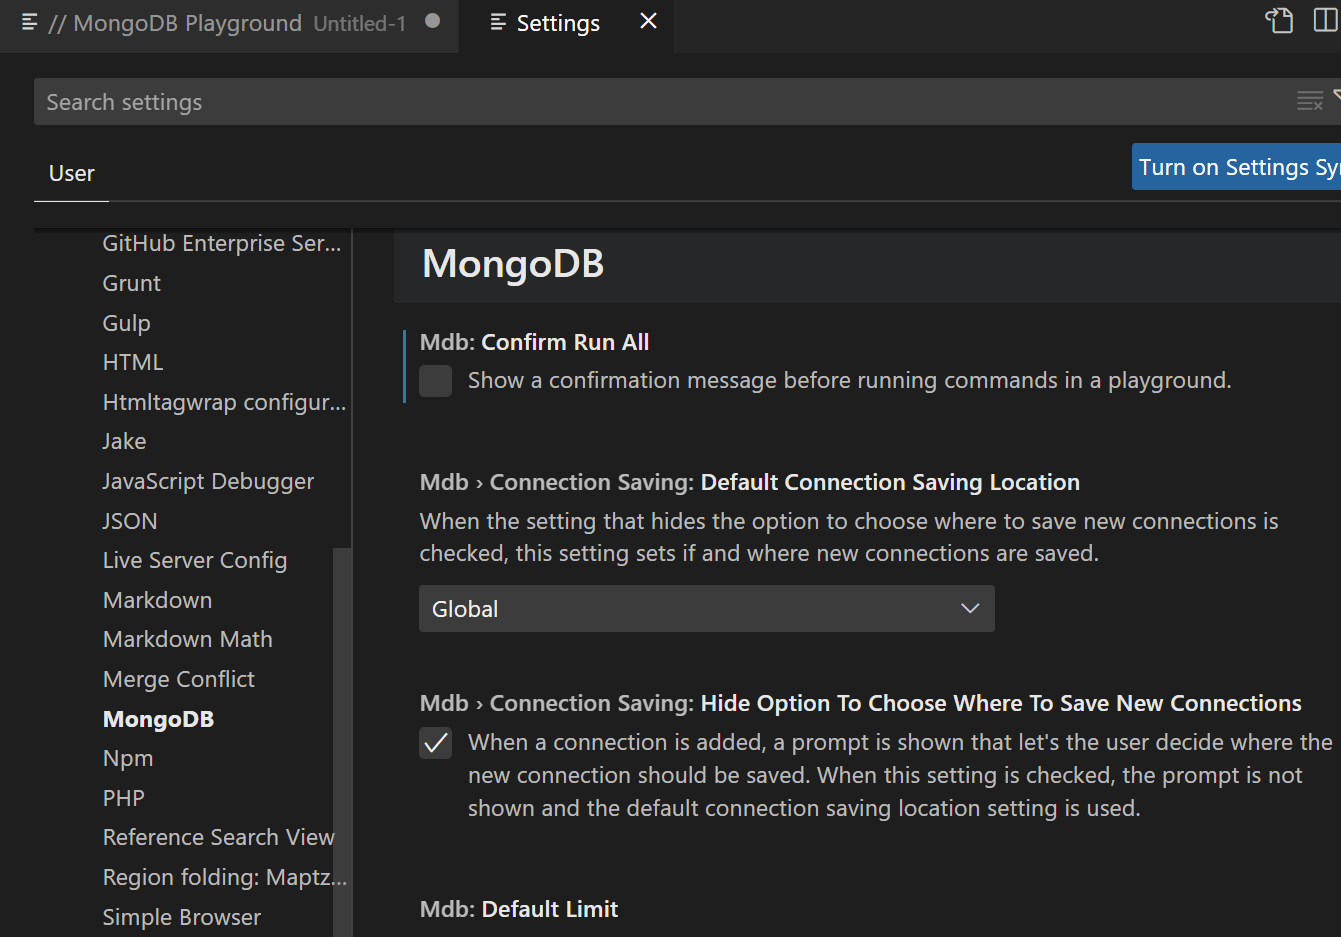
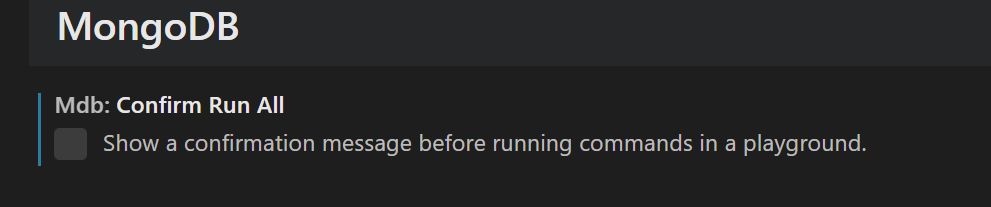
There is one setting you will want to change right away. There is a confirmation pop-up that comes up every time you run a command, it gets old very quickly. Go to File/Preferences/Settings and then expand the MongoDB settings. The first option is "confirm run all". I suggest making sure it is unchecked.
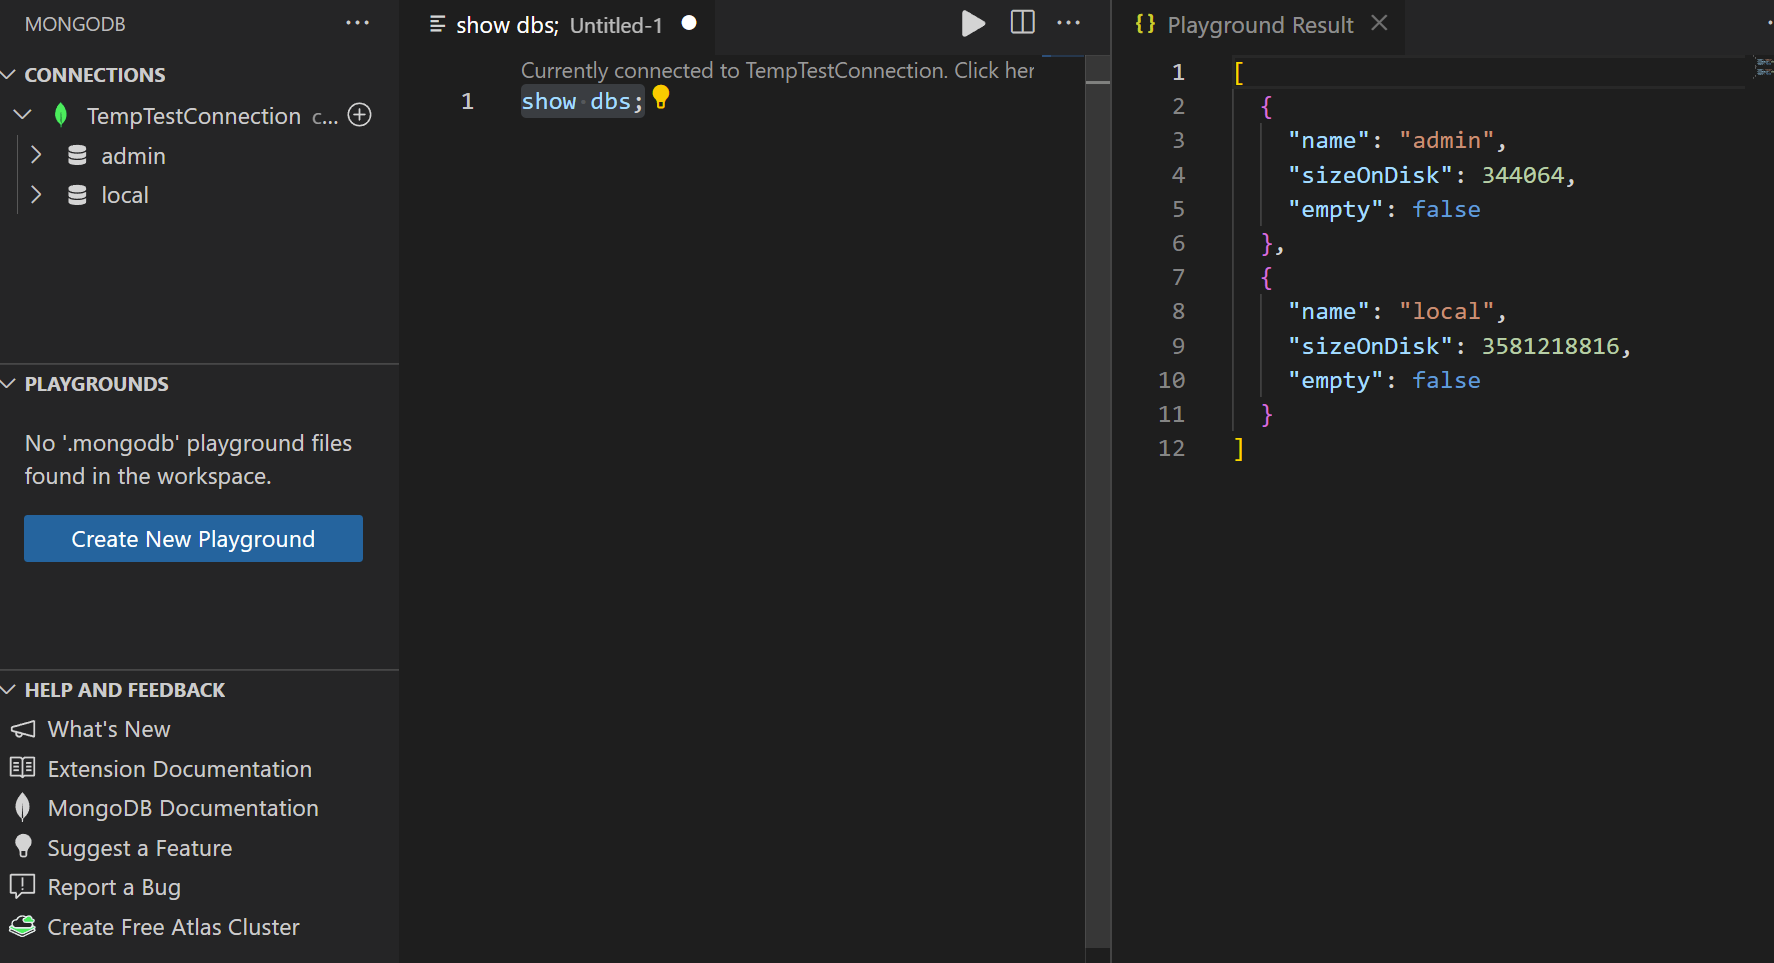
Now you are connected and have an active playground, you can type in a command in the window, and then click the run button (arrow in top right corner) and you will see a new docked window appears with the output.
Try a few more commands:

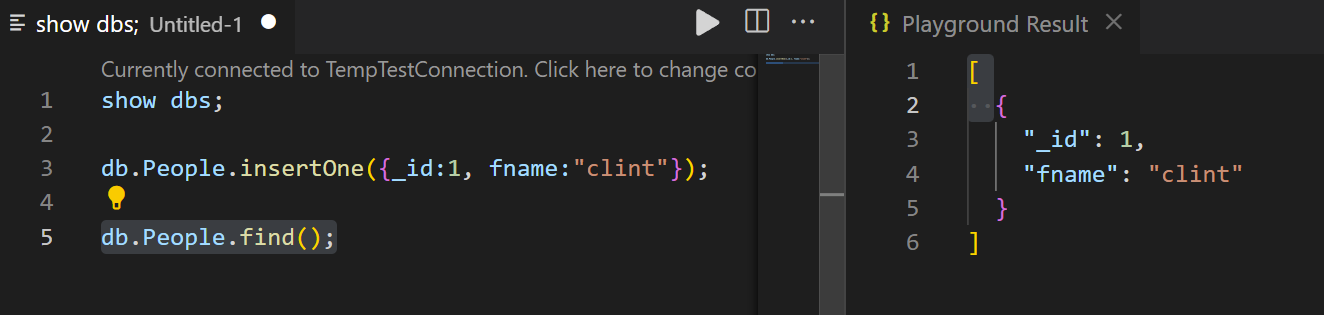
You are Done! Happy coding!
The following is currently not needed for DBS311 or DBS710 students. But the legacy instructions are left here in case for your own use.
Legacy Only
Installing a MongoDB Server (v5) on your personal computer.
Table of Contents
Download Required Files
Go to the following link to download MongoDB:
https://www.mongodb.com/download-center/community
- By default, the community Server section should be selected, if not, select it.
- Choose the version, use the current one, not any development or release-candidates. Currently the latest stable version is 5.0.5, but it may be newer at the time you are running these instructions.
- Choose your operating system. This tutorial will show you the instructions for windows only. For other operating systems, download the appropriate installation instructions from the MongoDB website.
- For windows, leave the package selected as MSI - this is an installation package.
- click
Downloadand remember where you saved the file. - The download should start automatically, you do not need to fill in the contact information on the next website screen. After downloading the msi file, you can close the MongoDB website.
- Once download is complete, open the msi file and the installation process should start.
Installing MongoDB
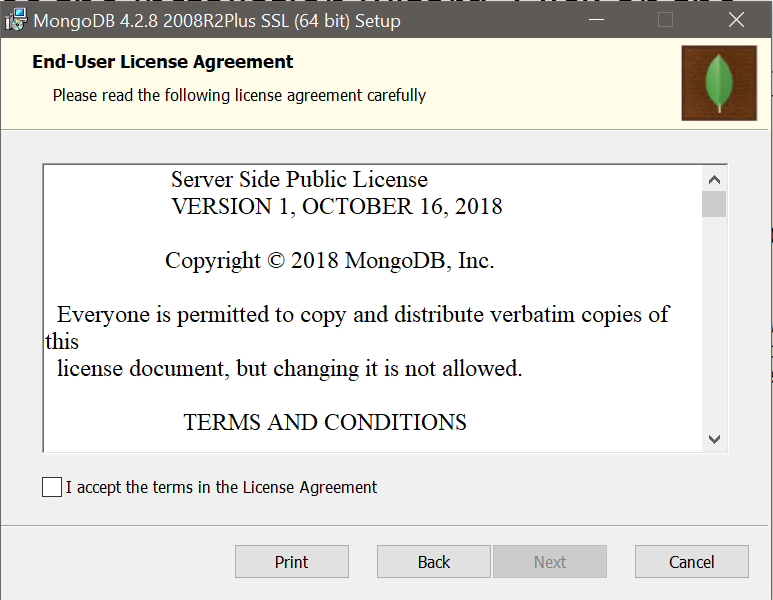
Read and accept the License Agreement, click next
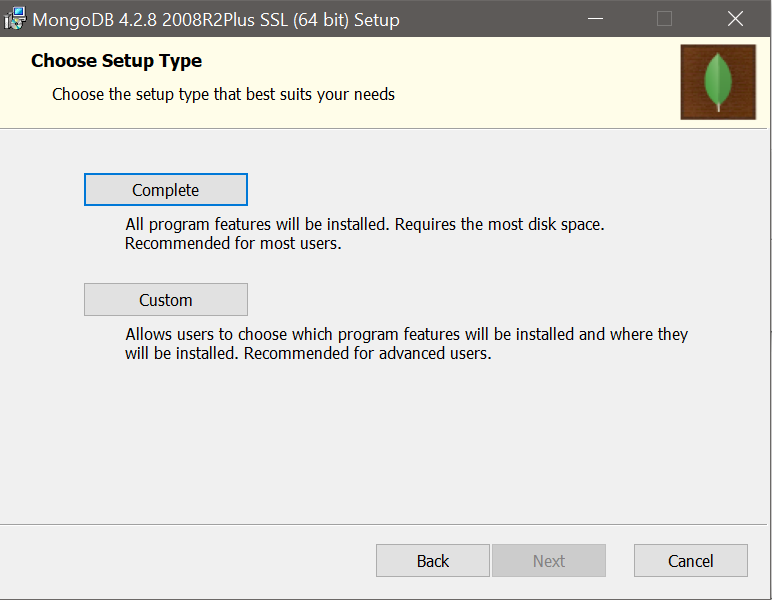
Choose a Complete Setup Type
On the next configuration screen, leave the settings as default unless you have a separate data drive on your computer where you might want to store the data files.
It is recommended to move the data and log files to a data drive if available. Otherwise, leave the settings as the default ones.
Click Next

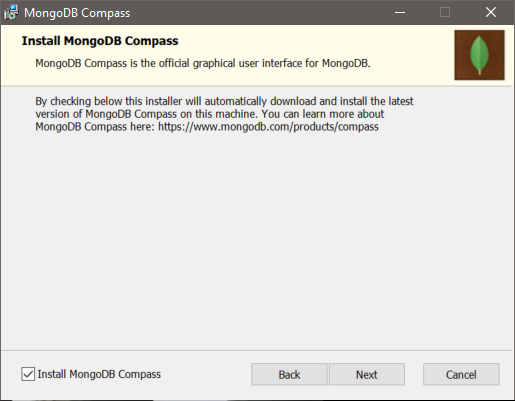
On the next screen, leave "Install MongoDB Compass" checked and click Next. Compass is a GUI for MongoDB that let's you run AdHoc Queries in seconds and interact with your data with full CRUD capabilities.
On the last setup screen, click Install. Note, you will need to be an administrator on the machine to do this, if you are prompted for administrative credentials, enter them, otherwise, just click on Yes to give Mongo Permissions to make changes to your computer.
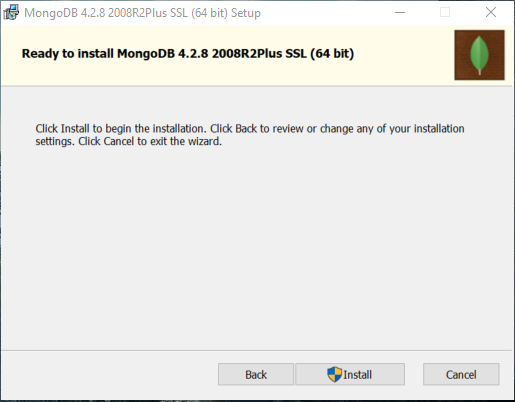
When the installation finishes, click the Finish button.
If Compass opens as part of the installation process, that is okay, just minimize it for now, we will come back to that later.
Some people may get an error that the service did not start properly, this is actually okay at this point, you can click ignore, if you get this pop-up error.
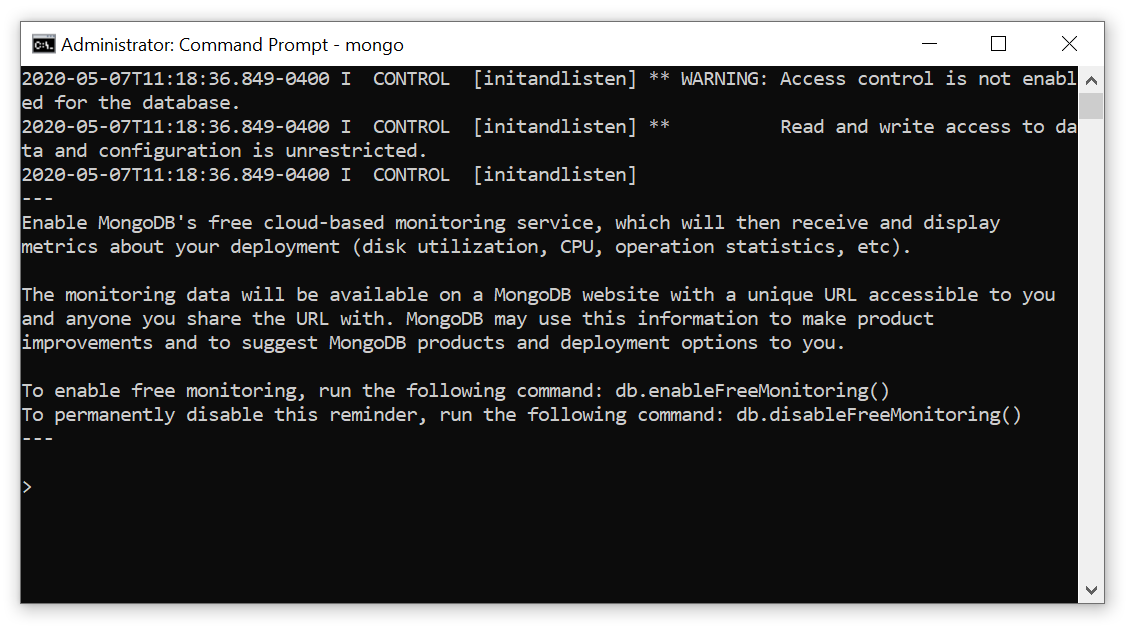
Running MongoDB for the first time
- Open a new command prompt window and again navigate to the installation folder for mongo.
c:\Program Files\MongoDB\Server\5.0\bin
TypeMongoat the command prompt to run the client shell.
- Type "show dbs" at the prompt to show the list of existing databases.
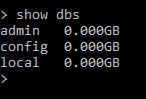
- A new MongoDB database is created when you insert data to the database.
To create a new database, execute the following command:
> use library
The “use” command, makes a database your current one. However, since we have not inserted data into the “library” database, you will not see this database as an existing one. We run the “use library” command to tell MongoDB that our current database will be the “library” database. - Now insert data, a document, into the "library" database.
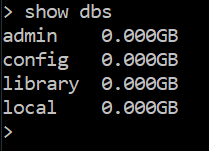
> db.book.insertOne({"title": "Blue Sky"})
“book” is a collection that stores documents. We later learn about collections and documents. We stored data for a book in our “library” database. Now, if you show the list of databases, you will see the new database “library” in your list:> show dbs
If everything goes according to plan, then we are all good.
Working with Compass
Throughout this course, almost everything we need to do with MongoDB can be done at the command prompt or using Compass as a GUI. This is really personal preference, and this website will present both options for you to use. Ultimately, it is the commands that you need to know how to use to create and manipulate your database structure and the data.
When you first open Compass for the first time you should see the dashboard screen that looks like this: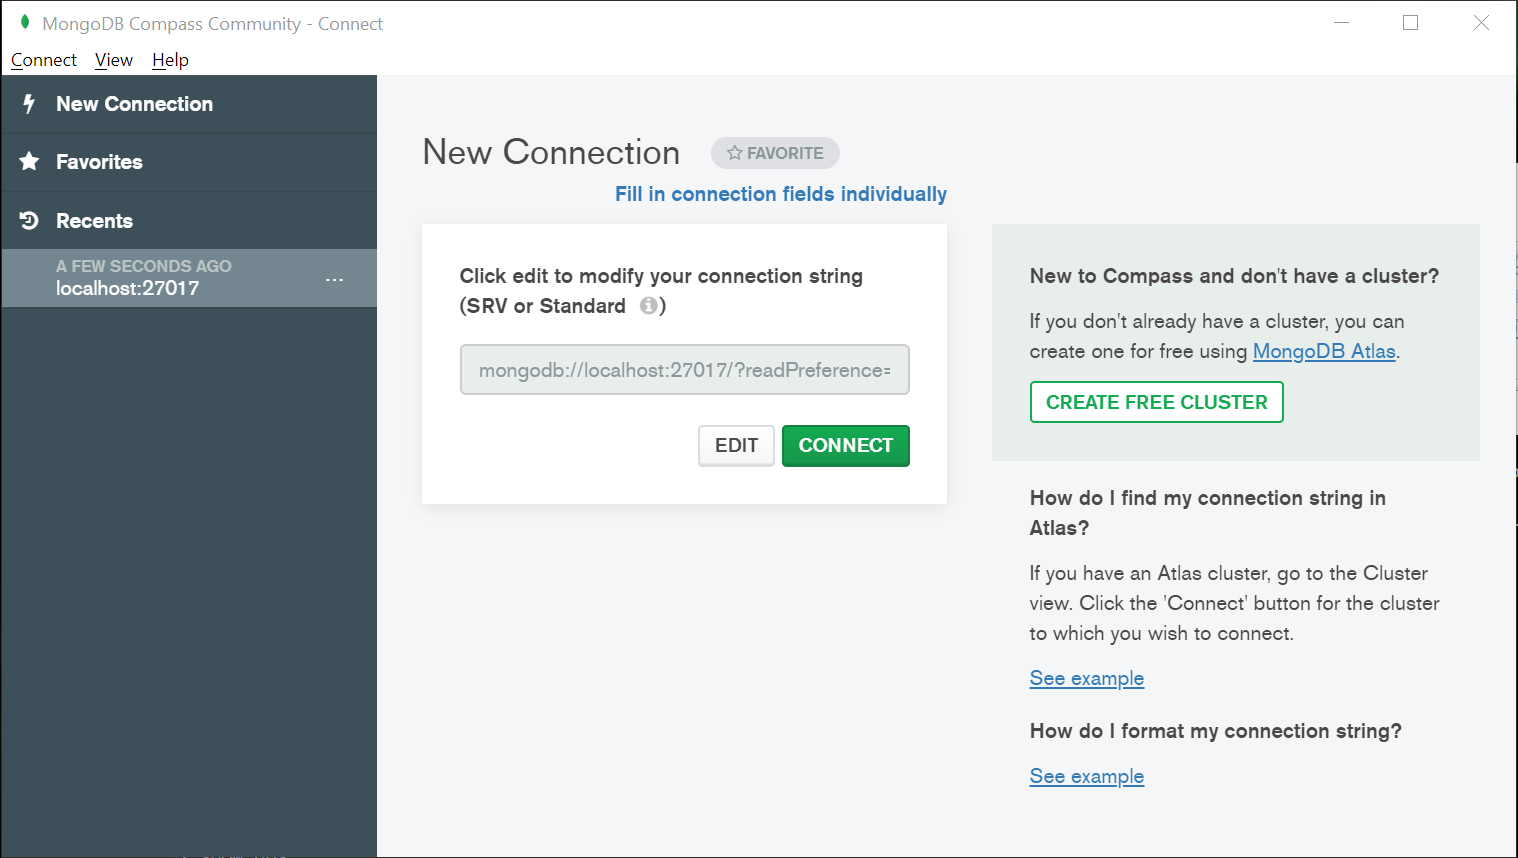
If installation went as expected above, then you can type the following in for the connection string:
mongodb://localhost:27017
If you choose to use Atlas for your database hosting location, that is fine, but this website documentation will refer to localhost throughout, you will need to adjust this information to your Atlas connection string where appropriate.
After the connection string is entered, clicking connect should show the following screen:
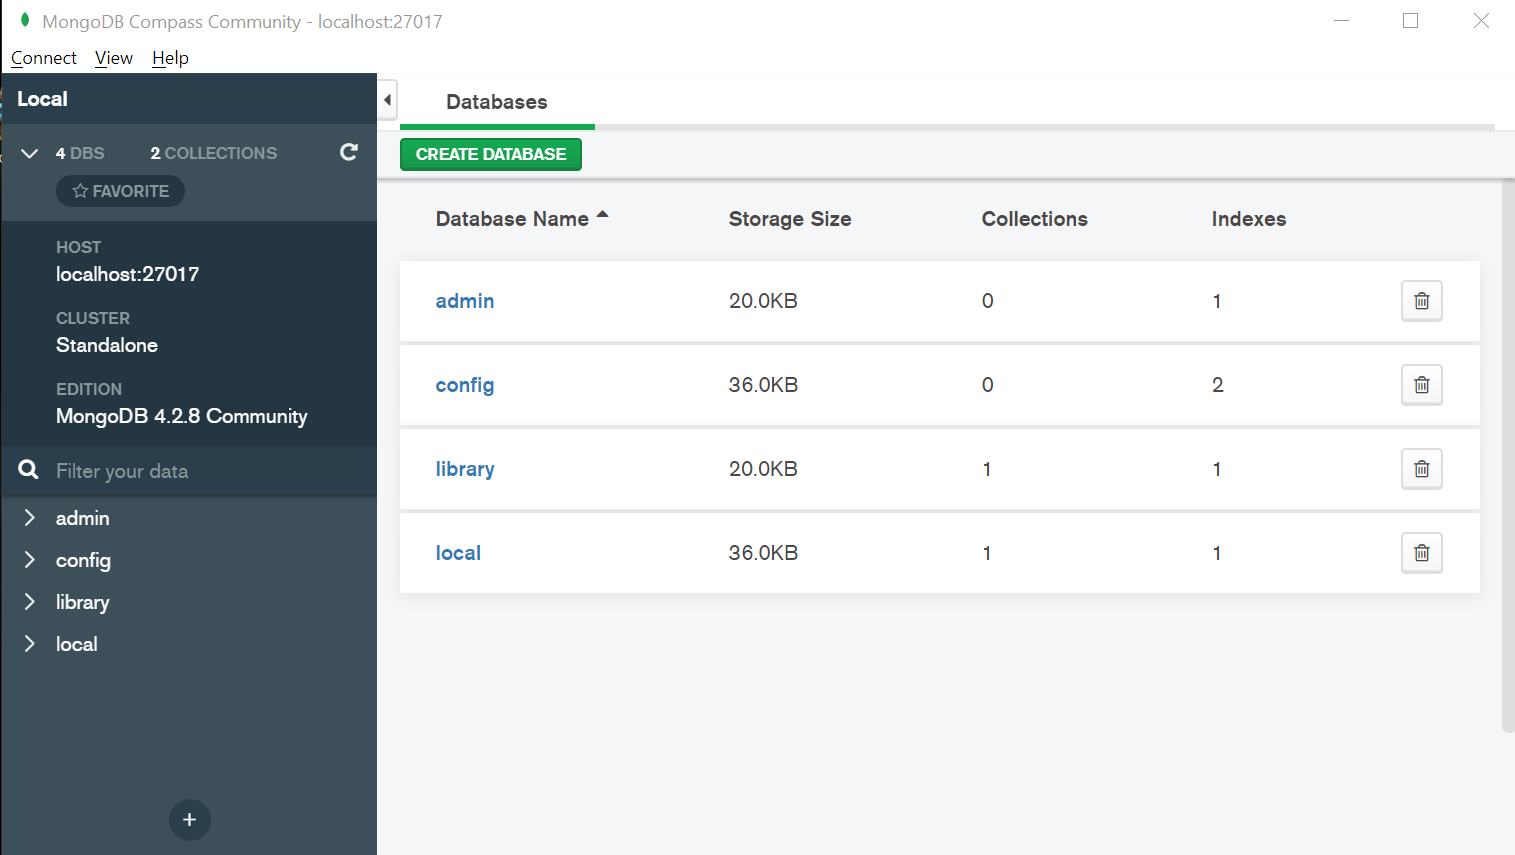
Note: if you followed all the instructions in the command prompt section, you should see the library database in the list.
Creating a New Database
like in the previous instructions, let us create a new database and add a book.
Click Create Database and the following screen should appear.
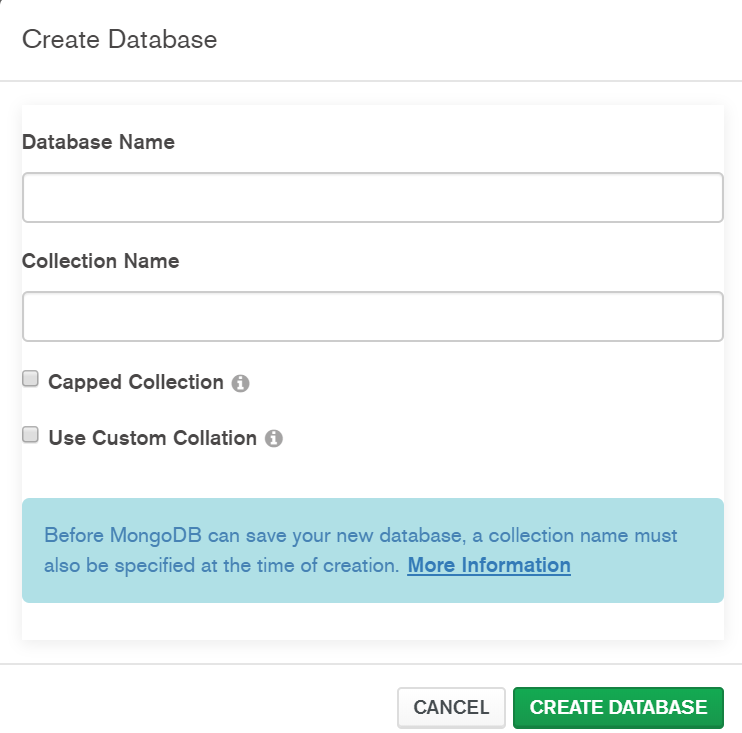
Enter "library2" for the Database Name and "Magazine" for the Collection and then click Create Database. This creates a new database with a collection of objects called "Magazine" inside it.
Within Compass you can see these collections, by clicking on the database name. Click on library to see the book collection. Note that from this screen you can add additional collections or delete existing ones.
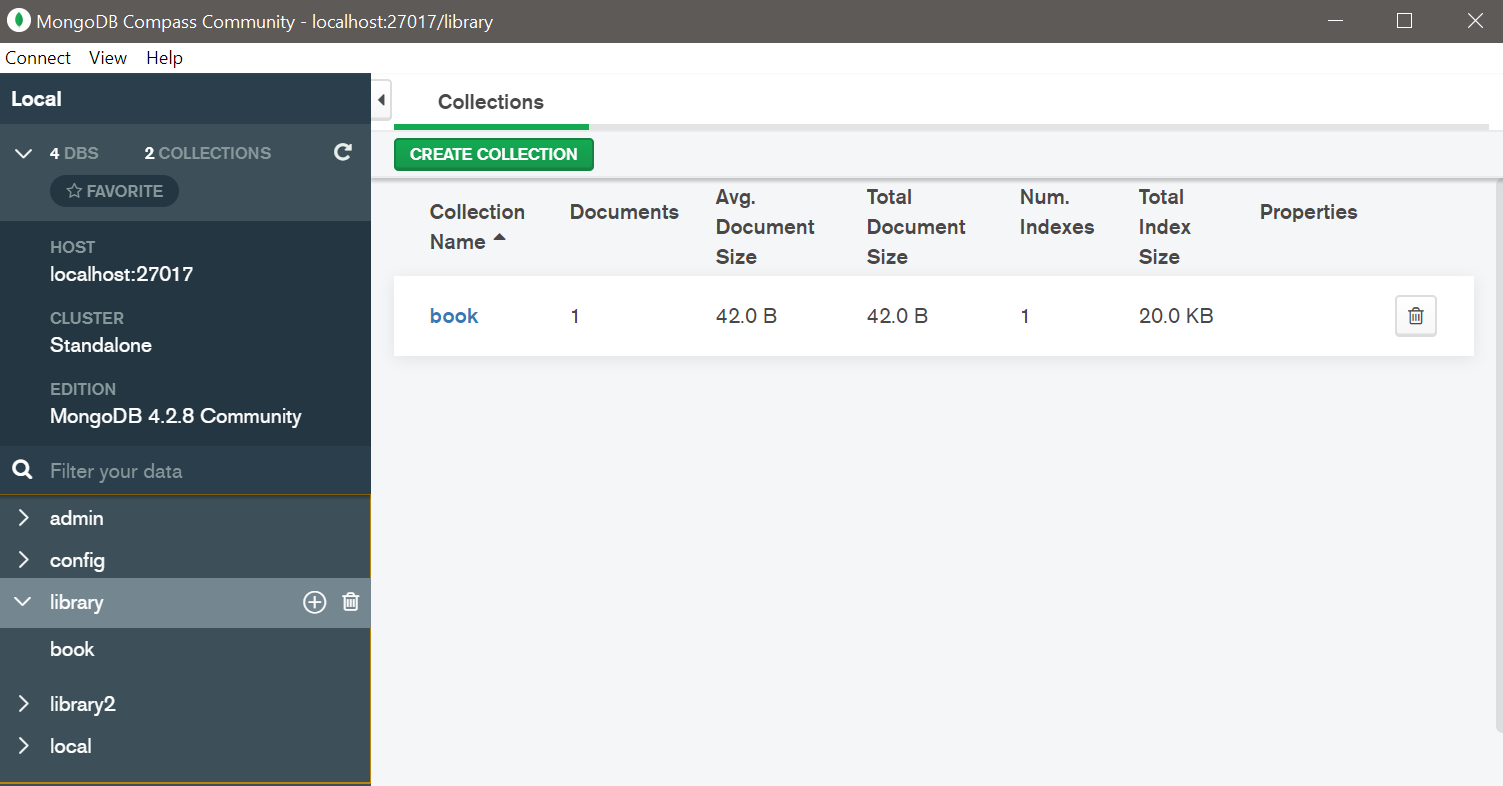
Then click on book to see the "Blue Sky" book we entered earlier. You can also add new data from this screen by importing a file or inserting a document.

Importing a file allows you to import JSON or CSV files into the collection providing they are in the matching format, discussed more later. Inserting a Document let's you write JSON code for inserting additional collection data.
Inserting a new book.
Click on "Add Data" and then choose "Insert Document".
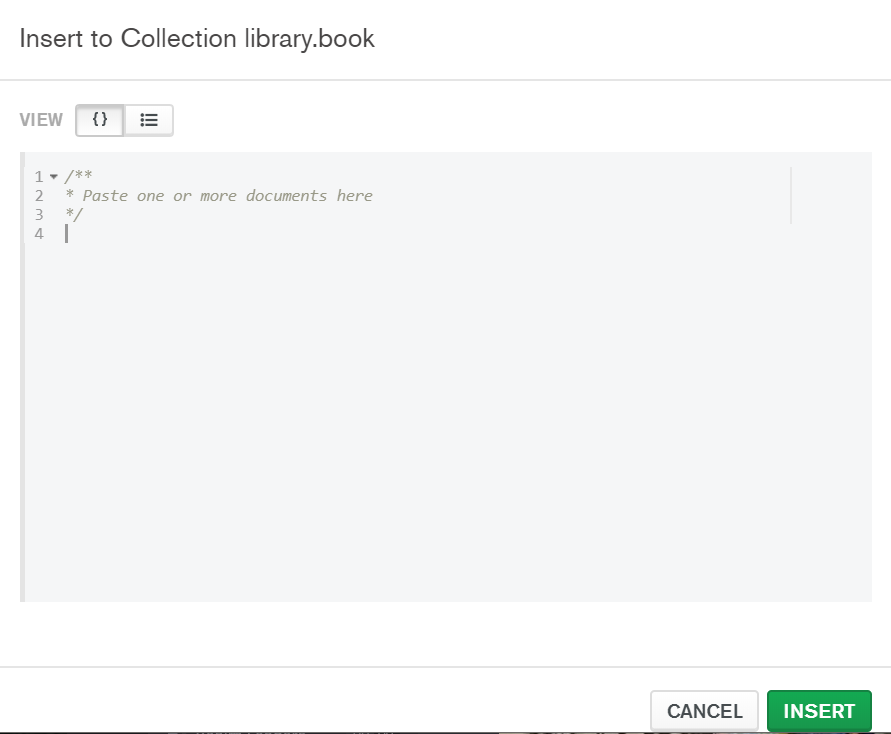
Type:
{"title": "Hamlet"} on line 4 and click INSERT.
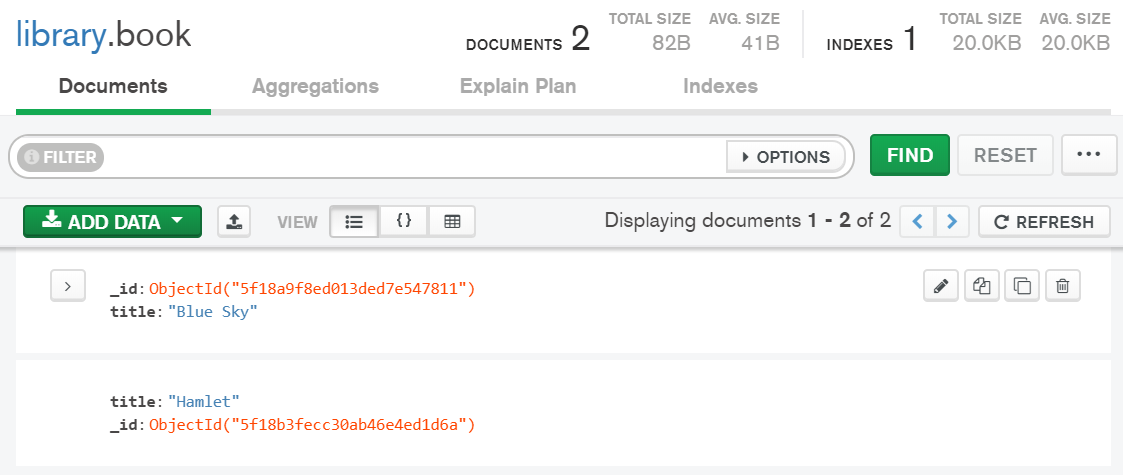
By Mousing Over each book you are presented with options to EDIT, COPY, CLONE, or DELETE each book.
This screen also allows you th search, filter, navigate through and refresh the data shown. This is a good data visualization tool for small datasets and reasonable for larger sets.
Click on "Local" in the top left corner to return to the list of databases.
In order to delete a database, you can click on the trashcan icon on the right side of each database. It is highly recommended that you do not delete the admin, config or local databases.
Delete the recently created "library2" database. As a safety precaution, it will make you type in the name of the database before it is dropped as the drop is permanent.
This concludes the installation and setup of MongoDB section as well as a quick intro to Compass.